File Locking (CORE)
Preventing wasted work caused by unresolvable merge conflicts requires a different way of working. This means explicitly requesting write permissions, and verifying no one else is editing the same file before you start.
Although branching strategies usually work well enough for source code and plain text because different versions can be merged together, they do not work for binary files.
When file locking is setup, lockable files are read only by default.
When a file is locked, only the user who locked the file may modify it. This user is said to "hold the lock" or have "taken the lock", since only one user can lock a file at a time. When a file or directory is unlocked, the user is said to have "released the lock".
GitLab supports two different modes of file locking:
-
Exclusive file locks for binary files: done through
the command line with Git LFS and
.gitattributes, it prevents locked files from being modified on any branch. (CORE) - Default branch locks: done through the GitLab UI, it prevents locked files and directories being modified on the default branch. (PREMIUM)
Permissions
Locks can be created by any person who has at least Developer permissions to the repository.
Only the user who locked the file or directory can edit locked files. Others
users will be prevented from modifying locked files by pushing, merging,
or any other means, and will be shown an error like: The path '.gitignore' is locked by Administrator.
Exclusive file locks
Introduced in GitLab 10.5.
This process allows you to lock single files or file extensions and it is done through the command line. It doesn't require GitLab paid subscriptions.
Git LFS is well known for tracking files to reduce the storage of Git repositories, but it can also be user for locking files. This is the method used for Exclusive File Locks.
Install Git LFS
Before getting started, make sure you have Git LFS installed in your computer. Open a terminal window and run:
git-lfs --versionIf it doesn't recognize this command, you'll have to install it. There are several installation methods that you can choose according to your OS. To install it with Homebrew:
brew install git-lfsOnce installed, open your local repository in a terminal window and install Git LFS in your repo. If you're sure that LFS is already installed, you can skip this step. If you're unsure, re-installing it won't do any harm:
git lfs installCheck this document to learn more about using Git LFS.
Configure Exclusive File Locks
You need Maintainer permissions to configure Exclusive File Locks for your project through the command line.
The first thing to do before using File Locking is to tell Git LFS which kind of files are lockable. The following command will store PNG files in LFS and flag them as lockable:
git lfs track "*.png" --lockableAfter executing the above command a file named .gitattributes will be
created or updated with the following content:
*.png filter=lfs diff=lfs merge=lfs -text lockableYou can also register a file type as lockable without using LFS (to be able, for example,
to lock/unlock a file you need in a remote server that
implements the LFS File Locking API). To do that you can edit the
.gitattributes file manually:
*.pdf lockableThe .gitattributes file is key to the process and must
be pushed to the remote repository for the changes to take effect.
After a file type has been registered as lockable, Git LFS will make them read-only on the file system automatically. This means you will need to lock the file before editing it.
Lock files
By locking a file, you verify that no one else is editing it, and prevent anyone else from editing the file until you’re done. On the other hand, when you unlock a file, you communicate that you've finished editing and allow other people to edit it.
To lock or unlock a file with Exclusive File Locking, open a terminal window in your repository directory and run the commands as described below.
To lock a file:
git lfs lock path/to/file.pngTo unlock a file:
git lfs unlock path/to/file.pngYou can also unlock by file ID (given by LFS when you view locked files):
git lfs unlock --id=123If for some reason you need to unlock a file that was not locked by
yourself, you can use the --force flag as long as you have Maintainer
permissions to the project:
git lfs unlock --id=123 --forceYou can normally push files to GitLab whether they're locked or unlocked.
NOTE: Note: Although multi-branch file locks can be created and managed through the Git LFS command line interface, file locks can be created for any file.
View exclusively-locked files
To list all the files locked with LFS locally, open a terminal window in your repo and run:
git lfs locksThe output lists the locked files followed by the user who locked each of them and the files' IDs.
On the repository file tree, GitLab will display an LFS badge for files tracked by Git LFS plus a padlock icon on exclusively-locked files:

You can also view and remove existing locks from the GitLab UI.
NOTE: Note: When you rename an exclusively-locked file, the lock is lost. You'll have to lock it again to keep it locked.
Edit lockable files
Once the file is configured as lockable, it is set to read-only. Therefore, you need to lock it before editing it.
Suggested workflow for shared projects:
- Lock the file.
- Edit the file.
- Commit your changes.
- Push to the repo.
- Get your changes reviewed, approved, and merged.
- Unlock the file.
Default branch file and directory locks (PREMIUM)
Introduced in GitLab Enterprise Edition 8.9. Available in GitLab Premium.
This process allows you to lock one file at a time through the GitLab UI and requires access to GitLab Premium, GitLab.com Silver, or higher tiers.
Default branch file and directory locks only apply to the default branch set in
the project's settings (usually master).
Changes to locked files on the default branch will be blocked, including merge requests that modify locked files. Unlock the file to allow changes.
Lock a file or a directory
To lock a file:
-
Open the file or directory in GitLab.
-
Click the Lock button, located near the Web IDE button.

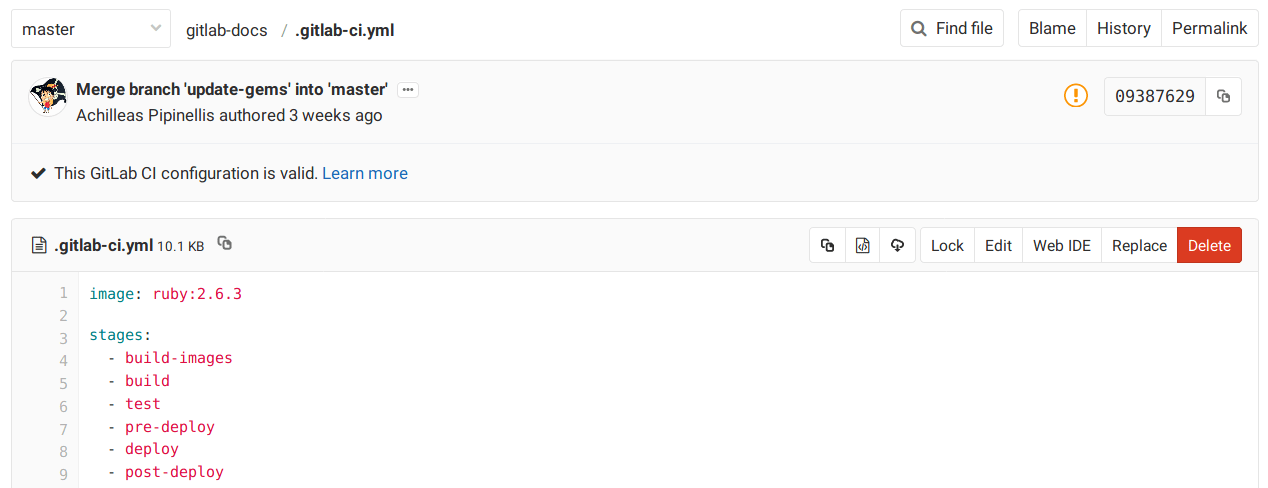
An Unlock button will be displayed if the file is already locked, and will be disabled if you do not have permission to unlock the file.
If you did not lock the file, hovering your cursor over the button will show who locked the file.
View and remove existing locks
The Locked Files, accessed from Project > Repository left menu, lists all file and directory locks. Locks can be removed by their author, or any user with Maintainer permissions and above.
This list shows all the files locked either through LFS or GitLab UI.